An Apple Crumble for Two
Two apples, a shallow dish, and a rough oat topping are enough for a crumble with a bubbling edge and a properly cooked middle.
8 min read
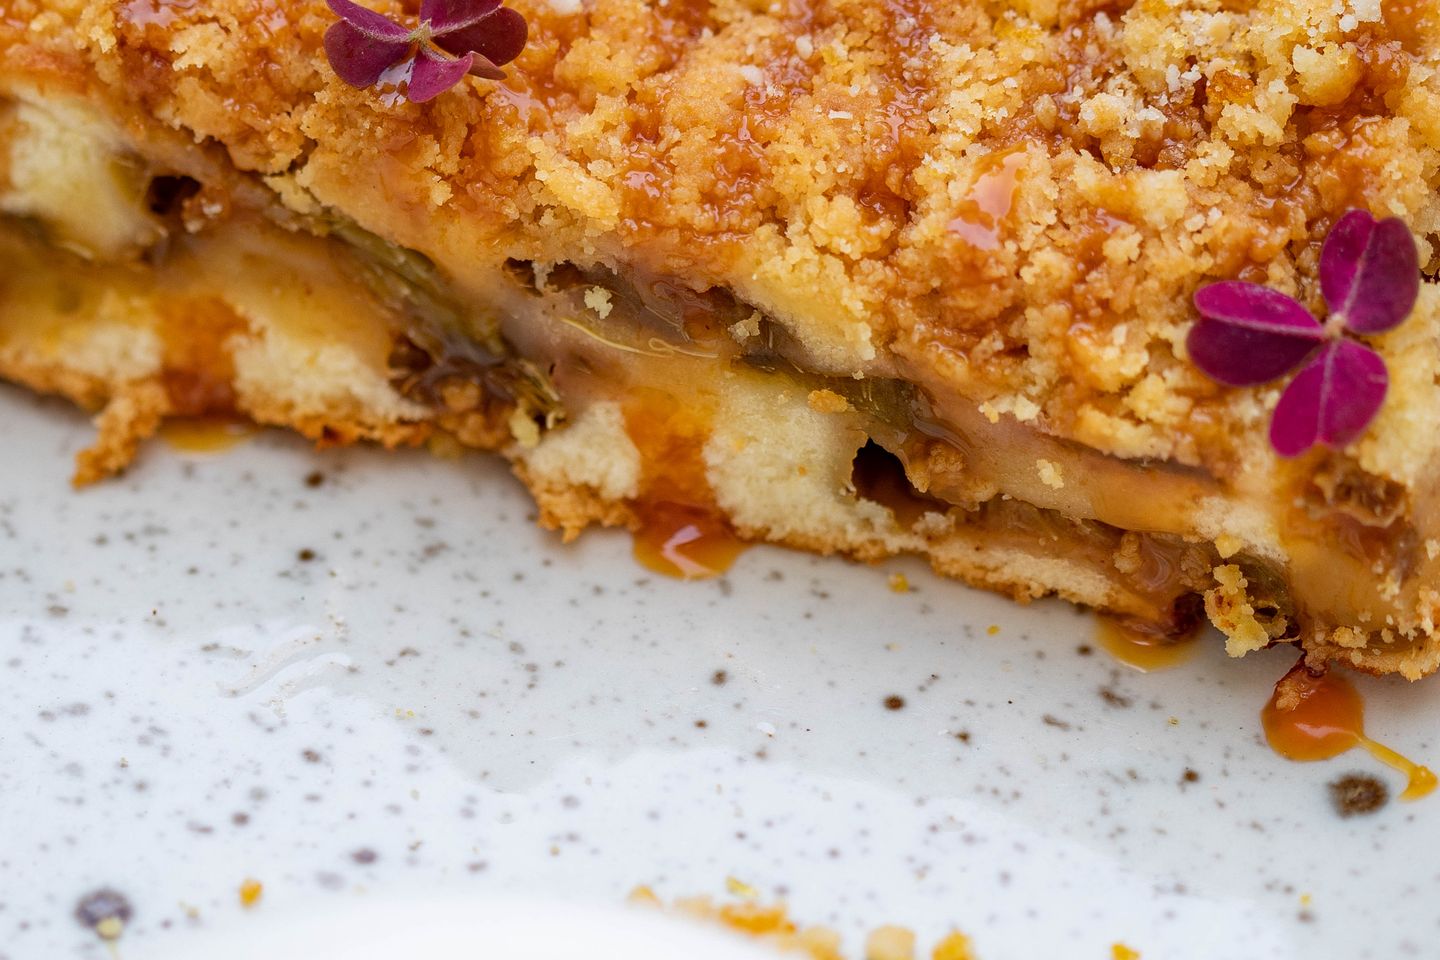
An apple crumble for two should be easy to divide with a spoon. The topping can break in an untidy line, and the second serving should still get some browned crumbs. A broad, shallow dish makes this easier than a deep cup. It gives the apples a chance to soften before the topping over the middle has gone dark. If all you have are two small ramekins, the same quantity can be divided between them. Each ramekin then has its own border of bubbling juice and a little pile of crumbs to crack.
This is a small bake partly because apples are different enough to make a small batch instructive. One firm apple can stay in neat slices, while another softens into a layer of sauce. Both can be good under a topping. A mixture of the two is useful when you want one dessert with enough tender fruit to spoon and enough pieces that it still looks like apples on the plate.
Find two apples with different jobs
Choose about 350 grams of sound apples before trimming. A crisp, slightly tart apple is a good starting point. If you have a second kind that tends to soften when heated, use one of each. The apples do not need to be very large. Two medium specimens usually come close to the right weight. Check the cut fruit for flavor after washing it under running water. Taste a small slice before adding sugar. A sweet apple may need only a small amount, while a tart, firm fruit benefits from a little more.
You can leave tender skins on for a more textured crumble. Tough skin will stay distinct from the flesh even after the apples are soft. Peel the fruit if you want a smooth spoonful or the skins feel particularly thick under the knife. Cut around the cores and lay the flat surfaces on the board. Slice to about half a centimeter thick. If one apple feels very firm, cut it a little thinner. The thinner slices can finish at about the same time as the thicker pieces of the softer apple.
Put the pieces in a shallow baking dish roughly 15 centimeters or 6 inches across, or divide them among two ovenproof ramekins. Toss them with about 12 to 20 grams of sugar, a teaspoon of lemon juice if they need sharpness, a level teaspoon of all-purpose flour, and a small pinch of salt. Use the larger amount of sugar for a tart batch and the smaller amount for sweet fruit. A little cinnamon is welcome when you want it. Without it, the sweetness and texture of the particular apples come through more clearly.
Make a topping you can scatter
For the crumble, use 35 grams all-purpose flour, 25 grams old-fashioned rolled oats, 25 grams light brown sugar, and 40 grams cool unsalted butter. Add a small pinch of fine salt. Cut the butter into pieces the width of a fingertip. Mix the flour, oats, sugar, and salt before adding the butter. This makes it easier to spread the sugar without compressing the larger crumbs once they have formed.
Rub the butter into the dry ingredients with your fingers until some of the mixture resembles coarse sand and the rest falls into small clumps. Press a pinch against the side of the bowl. It should stay in a loose lump, then crumble if you nudge it. If the butter still sits in separate cubes, flatten the remaining ones with a thumb. If the whole bowl has become a smooth paste, chill it for ten minutes and break it into rough pieces before using it.
Scatter the topping over the fruit, spreading it all the way across the middle. Leave a few shallow gaps around the edge where steam can escape and bubbles will become visible. Keep the biggest lumps closer to the center, where they can dry without taking the direct heat of the rim. There should be enough topping to hide most of the apple. A very thick, firmly packed layer stays damp underneath, particularly in a deep dish. Stop pressing as soon as the pieces have settled in place.
Watch the fruit as well as the color
Set the dish on a rimmed tray to catch any escaped juice. Bake at 190°C or 375°F with a rack in the middle. Begin checking two ramekins after about twenty-five minutes and a single dish after thirty. A particularly firm apple may take longer. Look for a clear stream of bubbles in more than one place around the edge. Check the center by easing the tip of a small knife through a gap in the topping and into a slice. If the slice offers a hard, crisp resistance, leave the dish in a little longer.
The color of the topping can get ahead of the apples. If the oat clumps are already brown and the middle still feels hard, set a loose piece of foil over the dish and continue baking. A hot tray set near the top of the oven can color particularly quickly. For the next batch, move the rack lower or slice the firmer apple thinner. Both changes give the fruit more time before the top turns dark.
When the knife goes through the middle slices without much pressure and the liquid has started to look syrupy at the edge, take the dish out. Let it stand on a rack for at least ten minutes. The hottest juices can be very thin. They will thicken a little as the dish sits, and the oat layer has time to cool enough to break. For a dessert that will be served from the baking dish, the pause also makes it easier to carry to the table safely.
Give each bowl a little edge and center
Run a serving spoon down the middle of the topping and tip each half into a bowl, gathering some of the cooked juices from the side. If the apples produced a lot of liquid, use a second spoon to add just enough to each bowl. There is a difference between a pool under the fruit and a wet topping. Let the crispest pieces sit above the liquid. A spoonful of plain yogurt or a little cold cream can go alongside them.
A pair of ramekins lets each person control that first spoonful. For one to be served later, cool it promptly, cover it, and refrigerate it. Warm it thoroughly in the oven, using a baking dish that can safely go from its starting temperature into that heat. The topping can regain some crispness in dry heat. A microwave warms the fruit faster and leaves the oats softer. If you prefer that method, leave a few fresh toasted oats to scatter over the warmed serving.
You can use a spare apple to make one small ramekin the next time. Start with about half the quantities and look for the same cues at the edge. A small vessel with a wide surface usually cooks more predictably than one that is narrow and deep. If the fruit nearly reaches the top, use a tray beneath it and leave room for the bubbles to rise. The best vessel is often the one you can carry easily and set somewhere safe before serving.
Change one part of the next small bake
If you are starting with an apple you have never cooked, a small piece can tell you quite a lot about what it will do. Place three slices in a little ovenproof dish with a teaspoon of water and bake them beside something else. Pull the dish out when the outside of the fruit looks translucent. One slice may spread when you press it with a fork, while another will only split in two. Record that distinction before you forget it. A soft apple does especially well in a shallow dish if it shares the space with a few firm slices. You can set those firmer slices across the bottom to make a bed for the pieces that release more juice.
If you have to use a deep dish, start baking the sliced, seasoned fruit by itself for a few minutes, then scatter the topping on and return the dish to the oven. The head start helps the middle cook before the top reaches its final color.
The basic topping is worth trying before you add nuts or extra spice. Once you know how much crunch it gives, replace a spoonful of oats with a spoonful of chopped walnuts or almonds. Keep the pieces small and check the top earlier because nuts can color quickly. For a slightly less coarse topping, use some quick oats in place of the old-fashioned kind. The short flakes fill more spaces between the crumbs and leave a more even surface.
Try changing the fruit on a separate bake. A softer apple in the same dish will need less time and may release enough juice that you want to keep the last few pieces of topping away from the edge. A firmer apple can be left to cook in narrow slices so it keeps its shape. With two dishes side by side, you can test one of each without changing the topping at all. Pay attention to the liquid after the crumble has rested. The flavor of the apple is important, but the way it holds its juice often decides whether the second spoonful feels as good as the first.