Little Cocoa Cakes
Bake six individual cocoa cakes with a soft center and a thin crust, then use what you see in the tin to refine the next batch.
8 min read
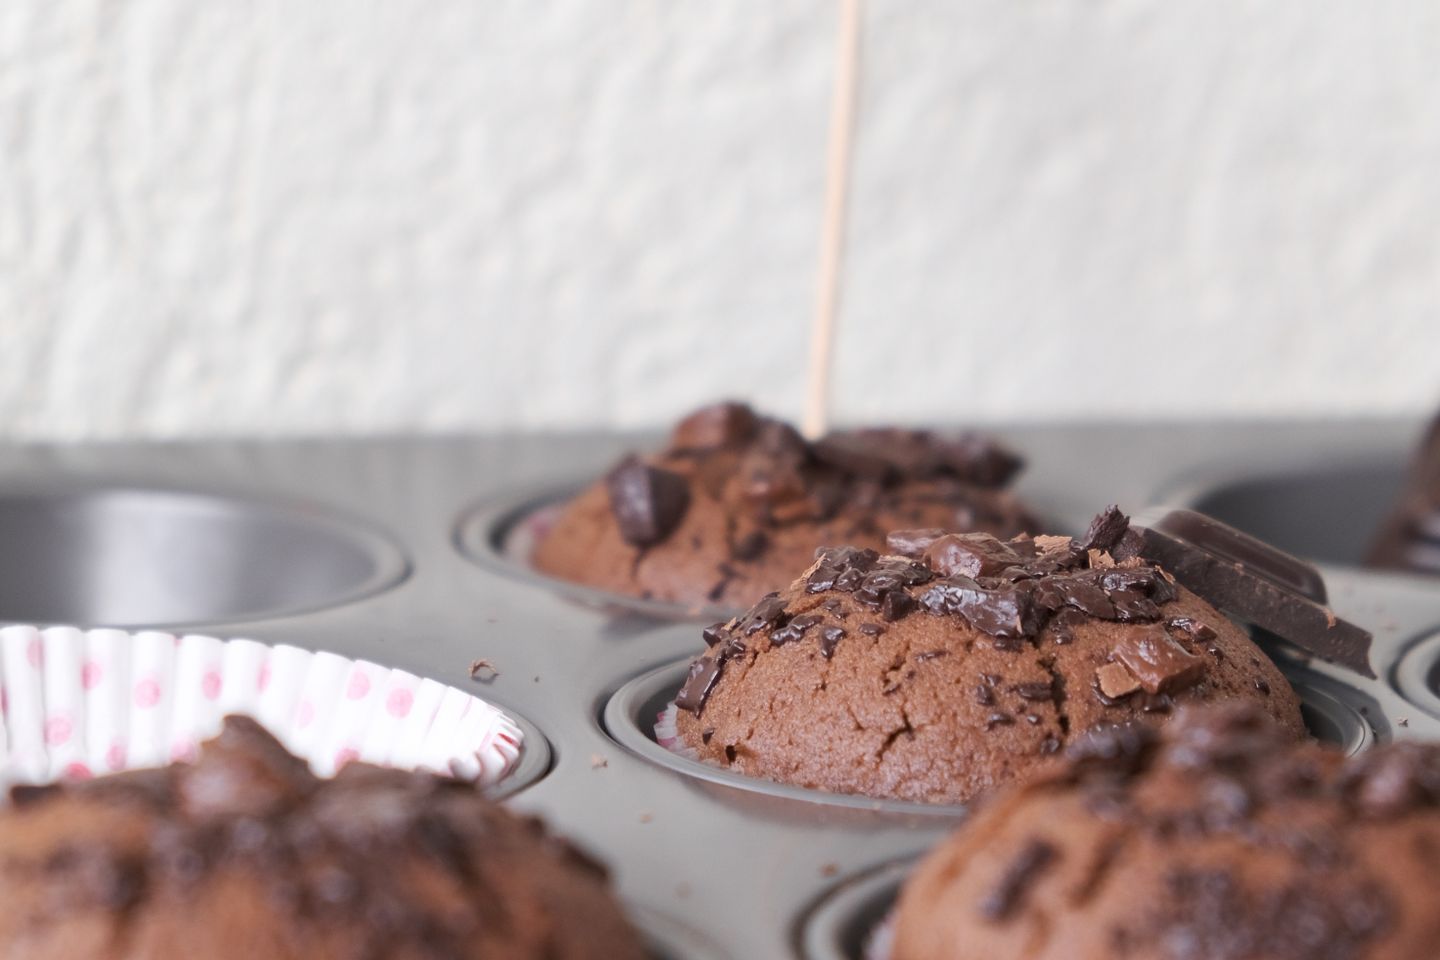
Six small cocoa cakes take about as much room on a table as a dinner plate. They suit the sort of dessert where one person wants a spoonful of cream and another would rather pick up the cake by its paper liner. Each cake has a complete edge, so there is no need to make a neat cut through a large cake while it is still warm. The question is when those edges have done enough cooking. A very small cake can go from soft to dry while the coffee is being poured.
A muffin tin makes it easy to repeat the size. Leave any extra cups empty or use a pan with exactly six wells. If the wells at one end of your oven cook more quickly, the individual cakes also make that easier to spot. Cool the cakes in the order they are ready and put one from the middle beside one from the edge. A tiny difference in where the pan sat can be clearer in the crumb than in the color of a cocoa batter.
Prepare a tray with room at the top
For six standard-size cakes, weigh 105 grams all-purpose flour, 25 grams unsweetened cocoa powder, 4 grams baking powder, 2 grams fine salt, and 95 grams granulated sugar. For the liquid ingredients, have one large egg, 55 grams neutral oil, and 105 grams milk. A small splash of vanilla is optional. Bring the milk and egg out shortly before mixing so the batter does not begin very cold. Use plain baking powder. Its ability to lift this particular batter does not depend on whether your cocoa powder is natural or Dutch processed.
Heat the oven to 175°C or 350°F with a rack in the middle. Line six muffin wells with paper cases. If the cases are unusually tall, make sure you can still see the surface of the batter once the tray is in the oven. A paper case makes it easier to lift a warm cake. A greased metal well gives a firmer outside, though you may have to run a thin spatula around the edge after cooling. This is a good time to choose a metal pan over a floppy silicone one if you want to compare color from one cake to the next.
Set out a bowl for the dry mixture and one that will hold all the batter. Sift the cocoa if it has small hard lumps. Cocoa can look smooth in a bag but leave dry little pockets in a finished cake, particularly if it has been sitting for a while. Whisk it with the flour, baking powder, and salt until the color is even. Take the whisk around the edge of the bowl. There should be no obvious light ring of flour left behind.
Mix only until the color is even
Whisk the egg and sugar in the second bowl for a minute, until they look slightly lighter. Add the oil in a thin stream while whisking, then add the milk and any vanilla. The oil may leave a few small spots on the surface before everything is fully combined. Continue whisking until the mixture looks even. The aim is a uniform base, so each scoop later has roughly the same amount of fat and liquid.
Add the dry mixture in two portions. Fold from the outside toward the middle with a flexible spatula. Draw the edge across the bottom before adding the second portion. Cocoa and flour can settle into a dry arc below an otherwise smooth layer. Stop when the visible streaks are gone. A few small, soft lumps will normally disappear in baking. If the batter thickens as you work, portion it without adding more milk. Adding liquid now can take more stirring than the mixture needs.
For a plain batch, leave the batter as it is. If you want little pieces of chocolate in the cake, use around 25 grams of finely chopped chocolate and fold it in once or twice. Large pieces can sink far enough to collect in the bottom of a small cake. They also make a skewer difficult to interpret later. A warm chip makes a dark streak even when the cake around it has set. Place any extra chocolate on the finished cakes instead if you want to keep the first tray easy to judge.
Portion the cakes while the batter is fresh
Divide the mixture among the six wells. A large spoon and a smaller one to clean its edge work as well as a scoop. Fill each well roughly two-thirds full. If one is much fuller than its neighbors, move a little batter before baking. Equal amounts are especially useful in a small batch because you can check just one or two cakes and have a reasonable idea of what the rest are doing. Wipe stray batter off the top of the metal pan so it does not scorch.
Slide the tray onto the center rack. Begin checking after around sixteen minutes. Open the oven only when the tops look fairly even and matte. A top with a very glossy spot in the center likely needs more time. Press an outer cake lightly with a fingertip when it looks firm. It should spring back slowly. Use a thin skewer to check one in the middle. A few soft crumbs are fine, while liquid batter needs several more minutes. If the oven has a strongly heated side, rotate the pan once the cakes have set around the edge.
The outer sides may still be soft when the center is ready. Leave the cakes in the tin for about five minutes, then lift them to a rack so steam has a chance to escape. A cake pulled from a hot well immediately may slump or split, especially if you pinch the paper with one hand. If it is difficult to lift, slide a thin utensil beside the paper to support the bottom. Avoid keeping all the cakes in the hot tin until they are cold. The edges can continue to cook and the bottoms can stay damp.
Open a cake from each end of the tray
Once cool enough to handle, peel one paper back and split the cake from top to bottom. A fine, even crumb with a few larger holes is ordinary. If you see a dense, wet area just above the bottom, check whether the cake felt firm when you took it out. A second cake from the same part of the pan can tell you if that was true of the batch or just one overfilled well. Mark the position of a troublesome cake before you forget which side of the tin faced the back of the oven.
Long holes rising toward the dome may come from vigorous stirring. A very tough rim can result from leaving the pan in too long, although an especially dark tin can firm the rim early. A short note about the pan and the time makes this much easier to distinguish. If the middle was good but the rim was dry, try a lighter-colored pan or reduce the time by a couple of minutes. If the top sank and the inside was wet, give the next batch longer before opening the door.
Taste two cakes at the same temperature before deciding how they differ. A warm cake can seem softer and less sweet. A cool one reveals more about the actual crumb, particularly on a day when the cocoa smells strong as soon as the tray comes out. A plain cake cut in half also tells you how much any topping should do. A deep cocoa flavor can be enough on its own. A small smear of tart fruit preserves on the cut side gives a different contrast from a layer of frosting.
Set a few different things beside them
Serve the cakes plain, with soft whipped cream, or with a small spoonful of thick plain yogurt and some berries. If you want a thin glaze, sift a few spoonfuls of powdered sugar and add water a few drops at a time. Spread a little on a completely cool cake. Watch where it reaches the rim. A glaze that pours off the edge can leave the top almost bare by the time you carry the plate, while one that moves slowly can be spread all the way across with a teaspoon.
Store plain cakes in a covered container after cooling. Refrigerate cakes with perishable toppings promptly, or keep the toppings separate until serving. A plain cake that has been frozen can be thawed before adding anything wet. The paper helps protect the sides during storage but should come off easily once the cake is at room temperature. If it takes a lot of crumb with it, try peeling low against the paper instead of pulling it straight out.
For a second small batch, change one detail you can observe. Fill the wells slightly less if the domes were difficult to lift. Try a different unsweetened cocoa if you want to compare the flavor, keeping the weight and pan the same. Or keep the batter exactly as it was and move the tray one position in the oven. The next six cakes will show what the change did to their rims and centers, and there will still be enough to put out after dinner.