Pie Dough by Feel
What the butter, crumbs, and edges of a pastry round can tell you from the mixing bowl to the pie plate.
8 min read
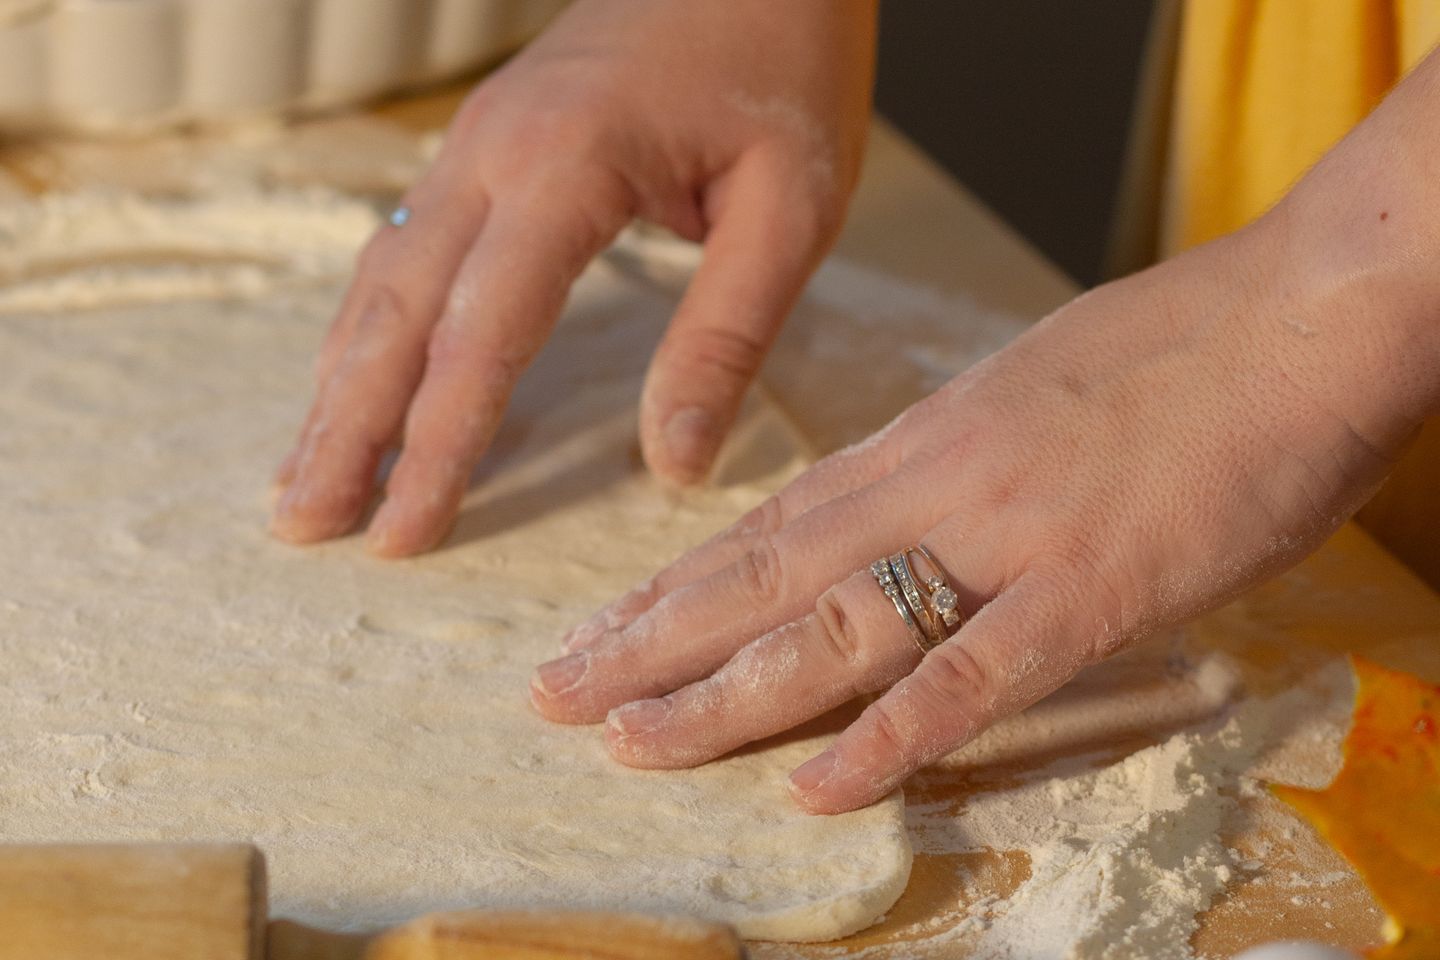
A pie dough that has just taken enough water can look less like dough than something left after a child has built a sandcastle. The top is rough and a few crumbs won't join in. Squeeze a handful, though, and a piece stays in the shape of your hand. That is often the moment to stop mixing. When the same dough has spent an hour in the refrigerator, moisture will have moved into some of those dry corners and the butter will once again be firm enough to make visible streaks under a rolling pin.
The easiest way to learn the difference between too dry and ready to rest is to press a few crumbs together at different points while you add the water. Keep a tablespoon nearby for the first few additions and a teaspoon for the last ones. A few drops can make a surprising difference at the end. You can always give the crumbs another squeeze while the bowl sits still.
Set out one crust
For one crust for a 23 centimeter or 9 inch pie plate, weigh out 165 grams all-purpose flour and 115 grams cold unsalted butter. Have 3 grams fine salt and, for a sweet pie, 6 grams sugar. Set a glass of water beside the bowl, drop in ice, and measure the liquid as you go. Around 45 to 60 grams of water will usually be enough, depending on the flour and how fine the butter pieces are. For a double crust, make two separate rounds. A smaller bowl of dough lets you see what is happening at the bottom.
Mix the flour, salt, and optional sugar, then cut the butter into cubes about the width of a fingertip. Stir them into the flour so each cube has a light coat. Pinch the cubes between finger and thumb, flattening each into a short, uneven tile. A few will break into smaller pieces as you work. If a piece feels glossy and greasy, it is getting too warm. Put the whole bowl in the refrigerator for ten minutes, especially if the oven is already on for another dish.
The butter should look like rough flakes amid sandy crumbs. A small amount of very fine butter helps the dough come together, while the larger flattened pieces help form flakes in the oven. Try to break up any solid cube hiding at the bottom. A cube can melt into a large pocket before the flour nearby has formed a firm wall. An irregular flake spreads the fat along the dough and leaves a smaller gap where it melts.
Stop with a few loose crumbs
Drizzle about three tablespoons of the cold water over different parts of the bowl. Use a fork or your fingers to lift the flour from the bottom, then shake the bowl gently to spread the damp lumps. The goal at this point is to distribute the water. Stirring in circles tends to make a wet, compact mass in the middle and leaves the crumbs at the edge behind.
Press some of the mixture in your palm. If the squeezed piece falls apart the instant you open your hand, add a little water to the driest area. The next piece may hold but show wide breaks around its edge. Give the bowl one more light toss and try again. The final squeeze should hold through a short trip from palm to plate. Its surface can still look jagged. There should be very little dry flour on the bottom of the bowl, although a few separate crumbs are fine.
Tip the pieces onto a sheet of parchment and draw the paper up around them. Press the mixture into a disk roughly the thickness of two stacked fingers. If the disk splits at an edge, use the paper to push the pieces together. Wrap the disk to keep it from drying and chill it until firm, at least an hour. An overnight rest works if you want to mix after dinner and roll the next morning.
Roll outward from the center
Take the dough out while you clear the counter and find your pie plate. At first the disk will feel as unyielding as a chopping board. Give it several minutes. A gentle tap from the rolling pin should flatten one small area without breaking the whole edge into large shards. If it still shatters, wait another minute or two and try a fresh spot. Butter warms from the outside in, so allow a pause before the surface feels soft.
Sprinkle a thin veil of flour on the counter and pin. Roll from the center toward the rim, then give the dough a quarter turn. Lift it off the counter as you turn so you can catch any sticky patch early. If the pin drags the dough across the surface, dust that spot alone. Flour put on thickly every time you turn can collect in a pale crust. A dry pastry brush or the flat of your hand can remove what is left just before the round goes into the plate.
Some of the first passes will make shallow cracks around the rim. Pinch these closed before continuing. Deep cracks get harder to close once the circle grows large and thin. If a piece at the edge falls away, press it onto a nearby short side and roll across the join lightly. Use the pin to guide the overall shape by spending the next pass on the shorter side. A round slightly wider than the plate plus enough to cover its sides should be able to settle without stretching. For most shallow 9 inch plates, a round around 30 centimeters or 12 inches across gives some room for trimming.
Lower the pastry gently
Lay the pin near one edge and drape the dough over it loosely. Carry it to the pie plate and unroll. Lift the edge a little while easing the dough into the angle where the side meets the bottom. It should settle into the plate with slack to spare. Press only once it is seated. Pastry that has been pulled hard across the rim may tighten again in the oven, leaving an uneven edge even if it looked tidy before baking.
Leave about 2 centimeters or three quarters of an inch beyond the rim when trimming for a single crust. Fold the excess under itself to make a firm band. You can press this flat with a fork or form a scallop by nudging the dough between a finger on the inside and two on the outside. Any join in the folded edge is best given a gentle pinch before shaping. Chill the lined plate for another half hour, or until the edge feels firm to the touch.
Put trimmed scraps on a separate piece of parchment if you want a little evidence before committing a filling. A dab of water and a pinch of sugar makes a thin crust on the scraps. Bake them at around 200°C or 400°F, checking after eight minutes and taking them out when golden. They cool rapidly and give you something to taste while the rest of the pie bakes.
Decide how much of a head start the crust needs
For a filling that goes in cold and stays cold, like cooked pastry cream, bake the crust fully first. Line the chilled shell with parchment and fill it with ceramic weights or dry beans used only for baking. Let the weights come fairly high up the sides so they hold the pastry in place. At 200°C or 400°F, look for a firm rim beginning to color, often after about eighteen to twenty minutes. Lift the parchment and weights carefully, then bake until the base turns golden and looks dry, checking after another eight minutes. The exact time depends on the thickness of the dough and the plate.
A filling that will return to the oven may need only a partially baked shell. In that case, the bottom should have lost its wet gloss before you take it out. A recipe for fruit pie with a raw double crust uses a different schedule because the fruit, base, and top all cook together. Set a metal pie plate on a preheated baking sheet if the recipe and the plate allow it. That helps give the bottom a stronger start. With glass or ceramic, check the manufacturer's instructions before placing it on a preheated surface or moving it directly from the refrigerator to a hot oven.
Notice the break of the crust
A well-cooked edge breaks with a quiet crack once it cools. If it crumbles to sand before it can be cut, there may have been too little water or too much loose flour worked into the rounds. If you can pull on a strip and it bends before it breaks, the edge may need more baking, or the dough may have been overworked while warm. A pale ring at the bottom often points to the time and heat at the base of the plate. Judging only by the color of the exposed rim makes that easy to miss.
Write down the amount of water you used and whether you could see streaks of butter in the dough when you rolled it. With that information and a look at the bottom of the crust, you can choose a single adjustment next time. A few more drops of water are easier to assess when the flour, plate, and rest are familiar. The little disk at the beginning will still look rough. Once you know how firmly a pinch should hold, the roughness can be left for the refrigerator to settle.