Roasted Red Pepper Soup
Roast red peppers until their skins blister, then blend the sweet flesh with a soft onion, a small potato, and just enough broth.
8 min read
A red pepper under a hot broiler changes in a way you can hear. The skin begins to crackle, and a tiny amount of juice escapes around the edges of the flesh. A pepper that reaches that stage is sweet enough to carry a soup without a handful of other ingredients. The job at the stove is to keep that flavor while giving it enough body to stay on the spoon.
This soup uses a small potato for that body. Cook it completely before blending and stop while the soup still pours easily. A pepper soup can seem unexpectedly rich even with water as the cooking liquid. Roasted peppers carry a little juice of their own, and an onion softened slowly in oil provides a sweet base. A teaspoon of vinegar near the end adds the lift that makes the first spoonful taste like a red pepper again.
Ingredients for four bowls
- 5 medium red bell peppers, about 2 pounds
- 2 tablespoons extra-virgin olive oil, plus more for serving
- 1 medium yellow onion
- 2 garlic cloves
- 1 small Yukon Gold potato, about 5 ounces
- 2 1/2 cups unsalted vegetable broth or water, plus more to loosen
- 1/2 teaspoon fine sea salt, divided, and more as needed
- 1 teaspoon sherry vinegar or red wine vinegar
- Freshly ground black pepper
- 2 tablespoons chopped flat-leaf parsley or chives
- 1/4 cup plain yogurt for serving, optional
A foil-lined rimmed baking sheet catches the juices from the peppers. Use foil under the broiler, since parchment may scorch at close range. Check that the sheet fits under your broiler with a little room on either side, and use an oven mitt long enough to protect your wrist when moving it. A three-quart saucepan is roomy enough for the soup and leaves headroom for an immersion blender. A regular blender works too if the soup is blended in small batches according to the appliance's instructions for warm liquids.
Pick peppers that feel heavy for their size. Wrinkled peppers can still work if their flesh is sound, although very thin, dehydrated peppers yield less after their skins have been peeled. Red bell peppers have the fullest color for this soup. An orange pepper in the mix tastes fine and makes the soup brighter. Green peppers have a sharper, less sweet flavor. It is worth saving them for a stir-fry or another dish where that sharpness is welcome.
Blister the peppers on a sheet pan
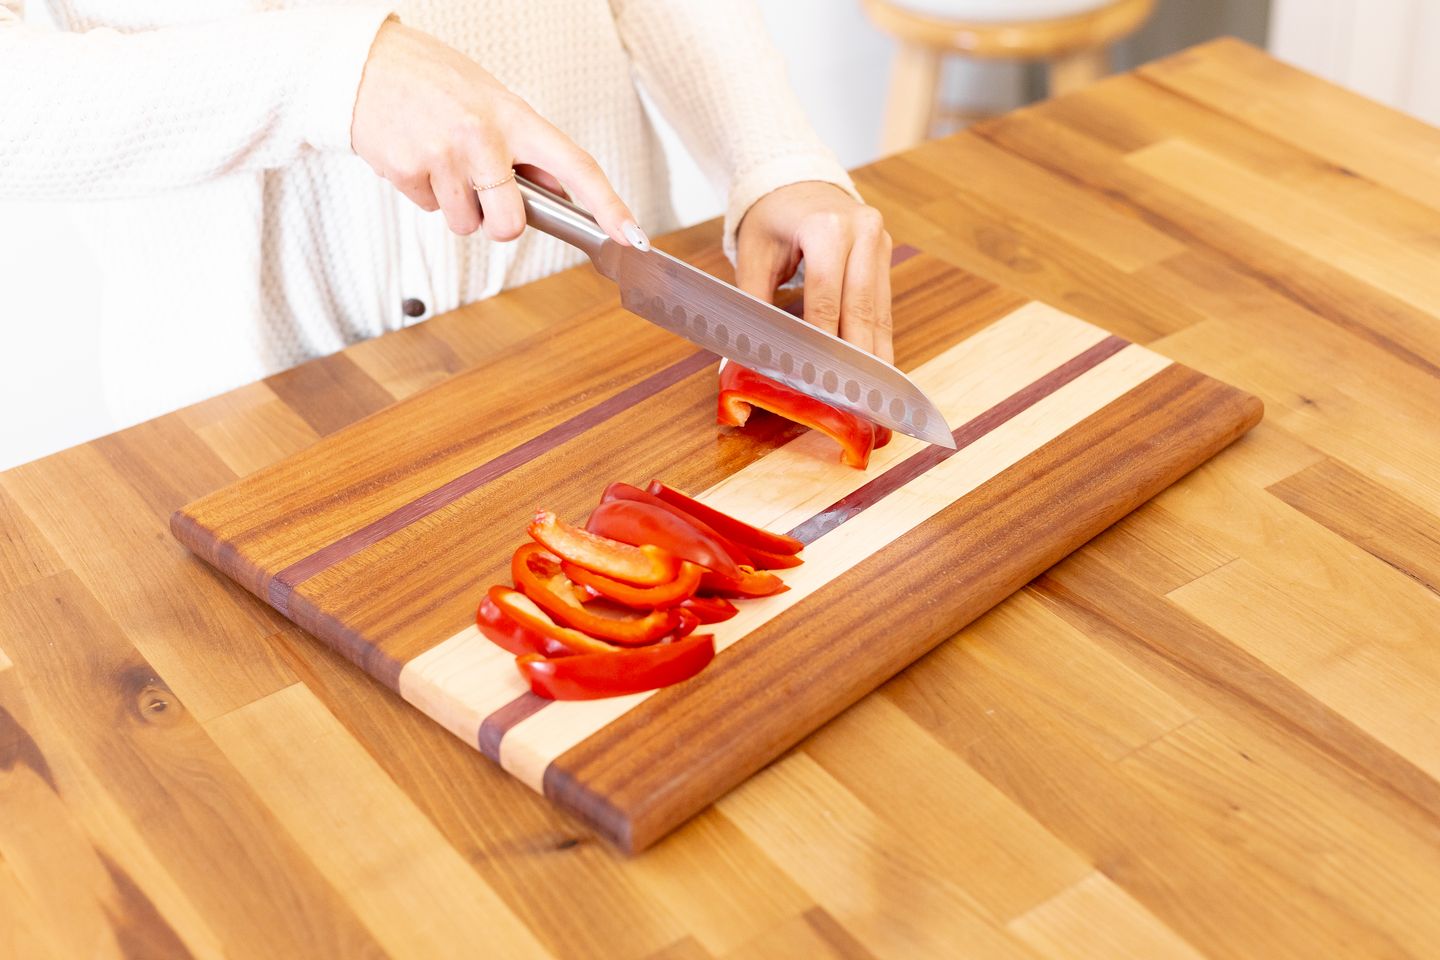
Preheat the broiler and arrange an oven rack so the top of the peppers will sit about 5 or 6 inches below the element. Rinse the peppers. Cut off the stem ends, halve them lengthwise, and remove the seeds and pale membranes. If a half is very curved, press it gently or cut it into two pieces. The point is to expose most of the skin to the heat at the same time. Put the pieces skin-side up on the lined sheet, with no oil. A little space between them makes it possible to lift one out with tongs if it finishes early.
Broil the peppers, checking after 4 minutes, then every minute or two. Depending on the heat of the broiler and distance from the element, the peppers may take 6 to 12 minutes. Rotate the sheet if one side is blackening noticeably faster. Look for dark blisters over most of the skin. A few glossy red patches are fine. If you wait for every last edge to turn black, the thinnest pieces can become leathery. Move the finished pieces to a heatproof bowl and cover it with a plate.
Leave the bowl covered about 10 minutes so the steam can loosen the skins. Let the pieces cool until they can be handled. Peel away the charred skin with your fingers. A paring knife can free any bits that stick at a crease. Avoid rinsing the peppers under running water, since that takes away some of the juice clinging to them. Pour the juices from the bowl into a small cup, leaving behind any loose seeds or flakes of black skin. Add the juice later if it tastes pleasantly roasted. If it is intensely bitter, leave it out.
Without a broiler, roast the prepared pieces skin-side up at 450°F (230°C) until collapsed and blistered in places, usually about 25 to 35 minutes. The skin may cling more than it would under a broiler. Cover and steam it in the bowl the same way. If a few small patches refuse to peel, cut them away rather than spending a long time scraping every soft pepper flat against the board.
Build the base while the peppers cool
Dice the onion and slice the garlic. Peel the potato and cut it into half-inch cubes. Heat the olive oil in the saucepan over medium-low heat. Add the onion and a generous pinch from the measured salt. Cook for 8 to 12 minutes, stirring occasionally, until the onion is flexible and translucent. A small golden patch is fine. If the corners brown before the onion has softened, turn down the heat and stir in a spoonful of water.
Add the garlic and stir for about 30 seconds. Put in the diced potato and the broth or water. Bring to a steady simmer and cook until the potato cubes can be mashed easily against the side of the pot, about 10 to 15 minutes. Start checking early if you cut the pieces smaller. Drop the peeled peppers into the pan, along with their reserved juice if using. Bring back to a simmer and give everything another three minutes. The pepper flesh is already cooked, so the final simmer mainly warms it and lets it mingle with the onion and broth.
Jarred roasted peppers make the soup feasible when fresh bell peppers are expensive or the oven is occupied. Use about 12 to 14 ounces of drained roasted peppers for this amount of broth. Taste one before starting. Some are packed in strongly acidic liquid, and a salty jar can season the whole saucepan. For the jarred version, add only a little salt to the onion and hold off on the measured vinegar until the soup has been blended and tasted. Use peppers packed in water or their own juice if possible. An oily marinade can make the soup harder to balance.
Blend to the consistency you want
Take the pan off the heat. If using an immersion blender, set the pan on a steady surface and keep the bell of the blender submerged before turning it on. Work around the pan, stopping to check for stray pieces of potato or pepper. If using a jug blender, follow its guidance for the temperature and amount of warm liquids, vent as directed, and leave plenty of headroom. Start on a low setting. A blender not designed to vent hot contents should be used only after the soup has cooled.
The finished soup should look uniform and coat the back of a spoon without holding a stiff ridge. If it is too thick, stir in a tablespoon or two of broth at a time. If it is too thin, simmer uncovered for a few minutes and stir from the bottom, watching for splashes. Add the vinegar, the remaining salt as needed, and some black pepper. Taste after the soup has cooled slightly in the spoon. Very hot soup gives you less time to notice the vinegar before swallowing it.
There is no need to strain the soup if the texture is already pleasant. A few flecks of pepper make it look like the vegetable you cooked. If pieces of skin remain and are noticeable, pass the soup through a medium mesh sieve, pushing the soft pulp through with a ladle and leaving the larger fibers behind. Use a fine sieve only if you want a very smooth soup for small cups. It catches more of the flesh and can noticeably reduce the yield.
Finish each bowl at the table
Ladle the soup into warm bowls and scatter chopped herbs across the middle. A few drops of good olive oil stay on the surface and carry the aroma of the pepper when you lean over the bowl. If you want yogurt, stir it first to make it smooth. Place a spoonful to one side of the bowl and drag the edge once with the spoon. Keeping some of the yogurt in a distinct patch gives each diner control over how much creaminess to take up.
Serve the soup with toast, preferably a piece with a reasonably crisp edge. For a more substantial lunch, put a scoop of cooked white beans in the bowl and pour the hot soup around it. Taste the beans separately and season lightly if they are plain. A handful of cooked farro makes another good addition. Add either one when serving rather than letting it sit overnight in the soup, where it will absorb liquid and change the consistency.
Cool and refrigerate extra soup promptly in a shallow covered container. Reheat a portion gently, stirring around the sides as well as the bottom. Add a little water if it looks thicker than you want, and wait until it is hot to decide whether it needs another drop of vinegar. The soup also works served chilled in small glasses. For that version, use a little less broth in the initial blend and taste it cold before pouring. A leaf of parsley and a thin film of oil on top are enough to turn a spare bowl into a small first course.